Initial Configuration
From Taridium
This section describes a standard business telephone system deployment.
Contents |
Pre-requisites
- Completed installation of ipbx and accessory hardware - see Installing ipbx
- Registered License Key - see Registering ipbx
Accessing ipbx
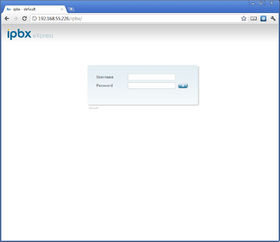
To start configuring your ipbx system you will have to access the Administrator Panel. If you have installed the free 5 user version via the RPM packages you will be presented with the login screen:
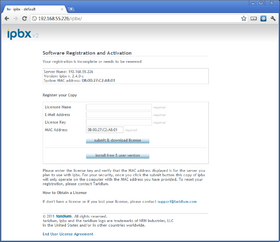
if you have a license key or would like to install the free 5 user version.
You might need to adjust your network configuration before you are able to access your PBX system. The default shipping status for most ipbx systems is a DHCP network configuration. If you need to change this and aren't able to put your PBX on a DHCP network please proceed as follows:
Using the Network Config Tool
1. Connect your PBX to the network (ethernet port labeled ETH 0 or 0 on ipbx SRV-1, SRV-2 and SRV-3 servers)
2. Connect your monitor and keyboard or KVM unit.
3. Power up your system. On SRV-2 servers press the small button on the left front side. You might need to use a pen or other pointy object.
4. Wait for a complete power-up and login as root using the default password taridium200.
5. Run the following command and follow on-screen instructions
[root~]# system-config-network
Manual Configuration
1. Connect your PBX to the network (ethernet port labeled ETH 0 or 0 on ipbx SRV-1, SRV-2 and SRV-3 servers)
2. Connect your monitor and keyboard or KVM unit.
3. Power up your system. On SRV-2 servers press the small button on the left front side. You might need to use a pen or other pointy object.
4. Wait for a complete power-up and login as root using the default password taridium200.
5. Edit the system network configuration
[root~]# nano /etc/sysconfig/network-scripts/ifcfg-eth0
and modify the file parameters using this template:
  DEVICE=eth0
  BOOTPROTO=none            <---- Change to none if DHCP
  BROADCAST=x.x.x.x         <---- Update according to your config
  HWADDR=XX:XX:XX:XX:XX:XX
  IPADDR=x.x.x.x            <---- Update according to your config
  NETMASK=x.x.x.x           <---- Update according to your config
  NETWORK=x.x.x.x           <---- Update according to your config
  ONBOOT=yes
  GATEWAY=x.x.x.x           <---- Update according to your config
  TYPE=Ethernet
DO NOT COPY the information above, just use it as a reference.
you can save by pressing CTRL-O (output) and quit via CTRL-X
6. Enter:
[root~]# service network restart
To access the administrator interface connect to your PBX via http or https e.g. http://192.168.21.1/ You will be prompted for username and password. The superuser is admin and the default password is taridium200 - change these immediately to prevent unauthorized access.
Changing the admin Password
To change the administrator's password Click on: Configuration → Access Control → Administrator Password. Optionally you can limit access from a specific network only. Be careful when changing this as you might lock yourself out of the system. See also How to reset the administrator password

